Which RAW files can you open?
LightCraft has its own decoders, written from scratch in Rust and compiled into the browser build. What it reads today:
| Format | Cameras | What you get |
|---|---|---|
| DNG | Adobe DNG, including phone raws (Apple ProRAW, Google Pixel and other Android phones) | Full raw decode; uses the colour matrices and lens corrections stored in the file |
| CR2, CR3 | Canon | CR2 full decode. CR3: lossless and C-RAW files decode; other CR3 variants fall back to the embedded preview |
| ARW | Sony | Full raw decode for most bodies; a few early DSLR-A models show the embedded preview |
| NEF | Nikon | Uncompressed and lossless or lossy compressed decode; High Efficiency (HE) NEF shows the embedded preview |
| RAF | Fujifilm, Bayer and X-Trans | Uncompressed and lossless or lossy compressed decode |
| RW2, RWL | Panasonic, Leica | Full raw decode, with the distortion data the camera writes into the file |
| PEF | Pentax | Full raw decode |
| ORF, SRW | Olympus, Samsung | Uncompressed files decode; compressed files show the embedded preview |
JPEG, PNG, TIFF, WebP, JPEG XL and PSD composites open too. HEIC and HEIF photos are not part of the browser build. For a specific body, the project’s camera coverage list says whether it has been checked on real files.
“Embedded preview” means LightCraft shows the JPEG your camera stored inside the raw file. You can still rate, sort and adjust it, but you are editing the camera’s JPEG, not the sensor data.
Step by step
- Open the editor. The first visit downloads about 20 MB; a new library opens with a set of demo photos.
- Choose File › Import Photos… (⌘⇧I on a Mac, Ctrl+Shift+I on Windows) and pick your files. The picker lists DNG, CR2, NEF and ARW among others; for CR3, RAF, RW2, ORF or PEF files, drag them from your file manager onto the LightCraft window instead.
- LightCraft copies each file into its library in your browser and shows it in the grid. Duplicates you already imported are skipped.
- Select a photo and press E to edit. Start with Light (Exposure, Highlights, Shadows), then Color (white balance in Kelvin for raw files, Vibrance), then Effects and Detail (sharpening and noise reduction).
- Hold \ to compare with the original, or press Y for side by side.
- Choose File › Export… (⌘⇧E / Ctrl+Shift+E), pick JPEG, PNG, TIFF or WebP and a size, and export. The file arrives as a normal browser download.
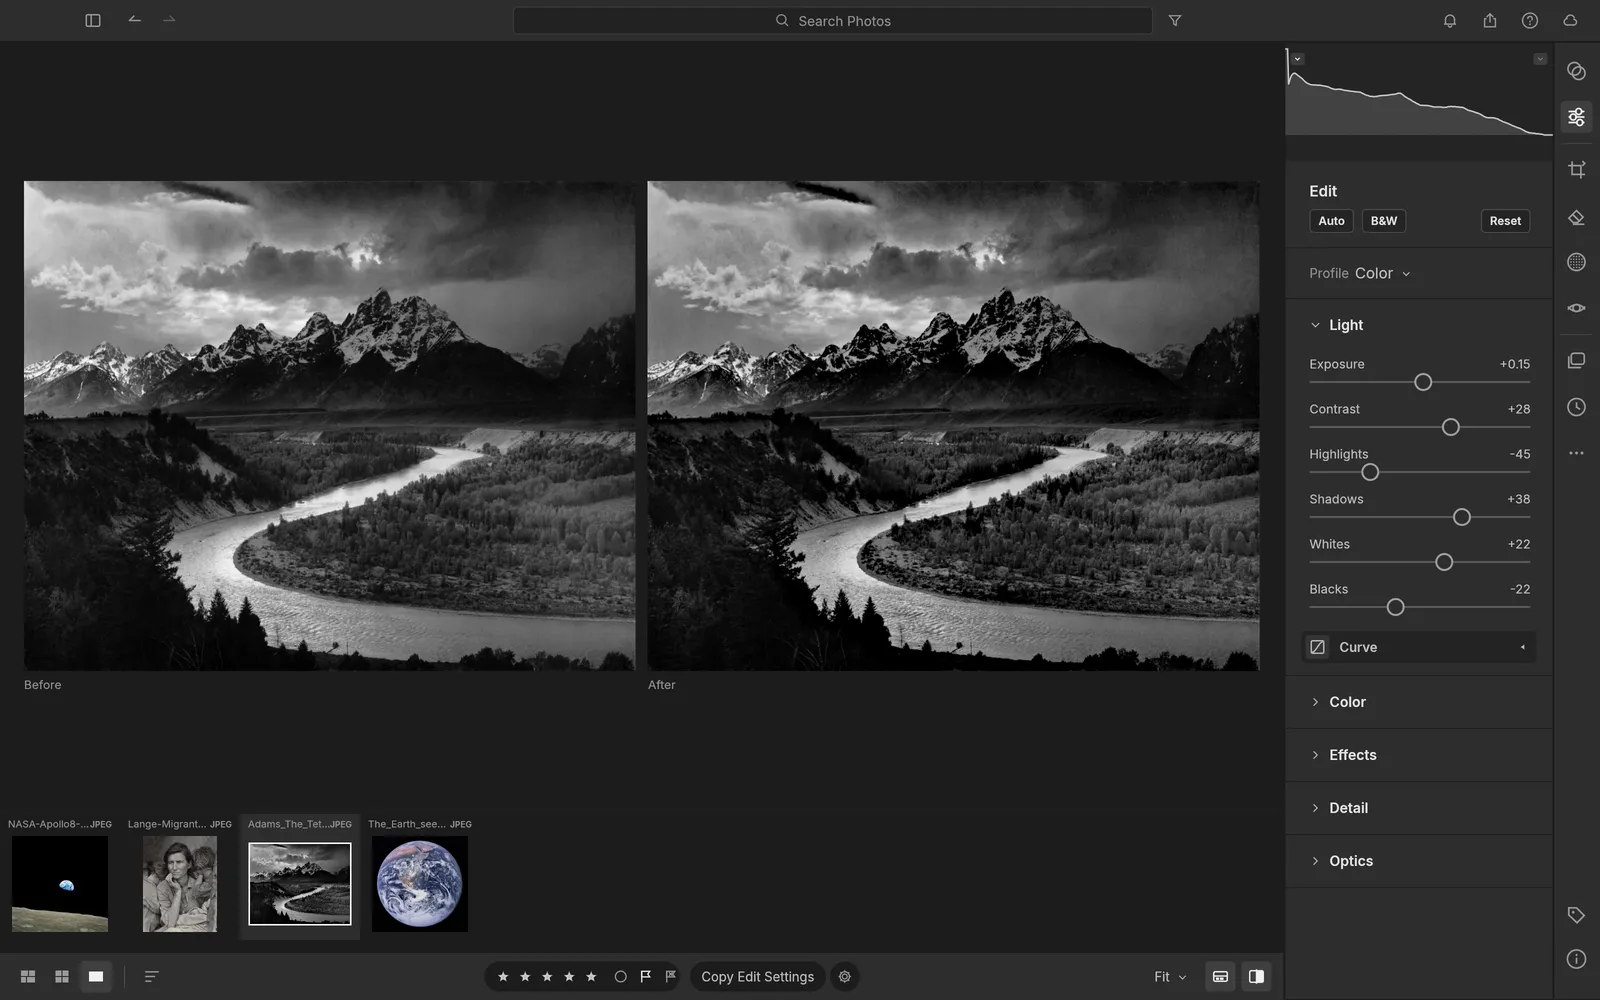
What you can do to a RAW file
- Recover highlights and shadows. The pipeline works in linear, wide-gamut floating point, so there is room to pull a bright sky back or open dark foliage.
- Set white balance by temperature and tint, with presets such as Daylight and Tungsten, Auto, or the eyedropper on something neutral.
- Pick a profile: Color, Neutral, Vivid, Landscape, Portrait or Monochrome, LightCraft’s own looks, each with an Amount slider.
- Mask the sky, the subject or a gradient and adjust just that area. Subject and sky detection use classic image analysis rather than a trained model, so check the edges.
- Crop and straighten with fixed ratios such as 4:5, 2:3 and 16:9, guide overlays and Upright perspective correction.
- Apply a preset or copy your settings to a whole shoot at once.
Two things work differently from Lightroom: camera colour is matched with LightCraft’s own estimates and a handful of bundled camera profiles rather than Adobe’s camera profiles, and there is no lens profile database yet, only the corrections stored in DNG, Panasonic and Leica files. Colours can look slightly different from your camera’s JPEG.
Keep your library safe
The browser version keeps the library, including a copy of every imported original, in your browser’s storage for this site. That is why your photos and edits are still there tomorrow, but it is not a backup:
- Keep your original files where they are now. Importing copies them; it doesn’t move them.
- Use File › Back Up Library… now and then. It downloads a zip of the catalog and every stored original; File › Restore Library from Backup… reads it back.
- Clearing this site’s data in your browser deletes the library, and in a private window it is gone when the window closes.
- Work in one tab. A second tab shows a notice instead of opening the library twice.
Browser or desktop app?
The browser build is the same LightCraft interface, rendering on your processor in background workers. The desktop app adds GPU rendering, folders on your disk with XMP sidecars, the MCP server for AI agents and better headroom for large shoots. For a few photos, the browser is enough; for a whole wedding, install it.
Want help with the sliders? The AI panel can propose settings for a photo on your own API key. And if you are coming from Adobe, read how LightCraft compares with Lightroom.